Welcome to the Cotswold Company.
We all have a piece of furniture in our home that is looking a little worn around the edges. Why not treat it to a little customization of paint and new handles? And allow it to brighten your surroundings once more?
Before we get started, check you have the correct hardware and supplies to hand. Here’s an approximate guide of the tools you will need.
Place your chest on top of a dust sheet, ensuring you cover all surfaces you do now want to get dusty. Take out each drawer, place aside for now, and we can get started with prepping the outside of the unit.
Take your sanding block and wrap some sandpaper around it. Sand all areas to remove as much of the surface shine as you can. Just a light sanding should do the trick; just enough to remove the outer layer of wax and residue.
We’ve switched to using smaller pieces of sandpaper without the block and wire wool to really get into the smaller detail areas and edges.
You may find it useful to turn the product on its side once you’ve finished the top.
Don’t forget to sand a little bit into the internal edges where the drawers would be. This way, we can also apply the primer top coat to these areas, so once the unit is finished, the bare wood will not be visible when pulling out the drawers.
We’ll move on to the drawers next.
Unscrew each handle and use the sanding block for the front surfaces. You may find it useful to tear off smaller pieces of sandpaper or wire wool to work your way into those tricky beveled edges.
Once you finish sanding, give each surface a wipe down with some sugar soap and a cloth. White spirit or tack cloth will work just as well.
By this stage, here is an idea of what your unit will look like.
The next step is coating the product with a base layer of primer. Fill your tray with enough primer to coat the outside of the unit and work the roller up and down in the tray to ensure it’s adequately covered. Coat the top surface using the roller. Use sweeping movements back and forth. Each strip may take a few rounds to fully cover.
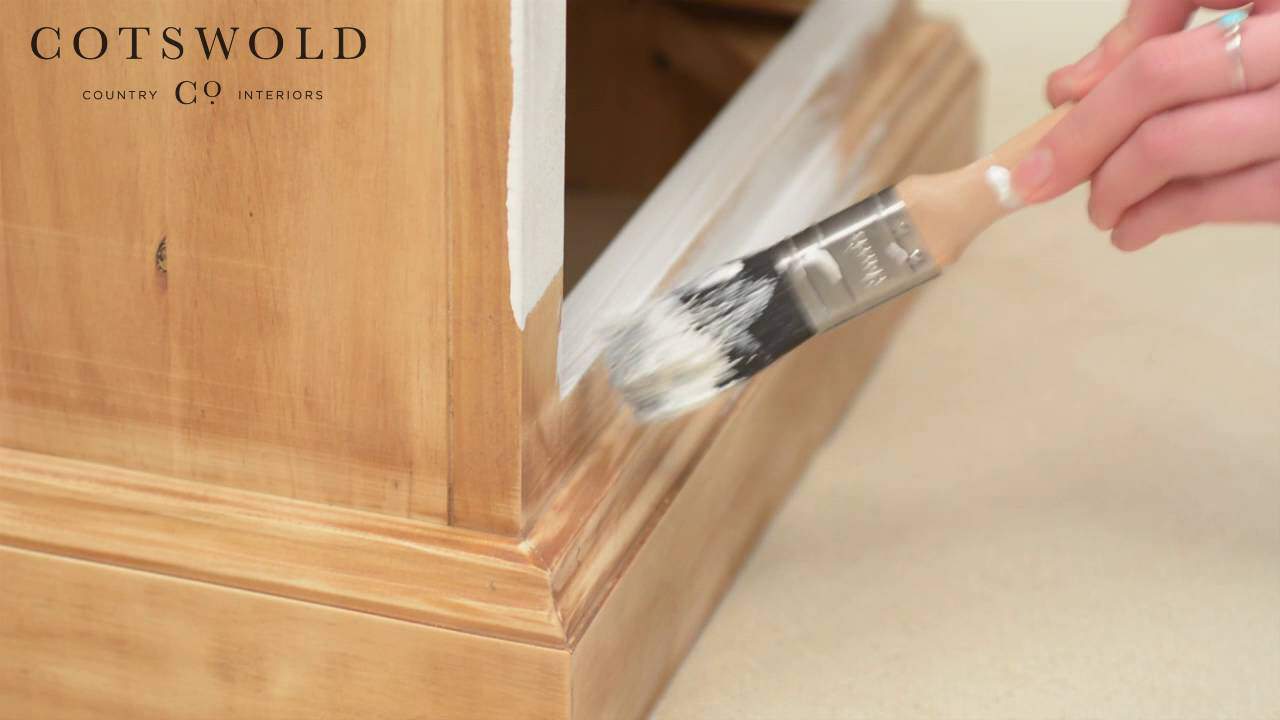
Use your paintbrush to coat the outer edges. These may need a little bit more attention.
We’ve used the roller to coat the flat framework at the front and have switched to the paintbrush to cover the internal edges and just reach inside the corners.
The paintbrush is particularly handy for the detailing on the drawers, whilst the roller works beautifully on the fronts and sides.
We recommend two coats of primer. Wait a couple of hours until all components are dry and then add another coat using the foam roller and brush as before.
Once you’ve completed the second layer of primer and allowed time for the final coat to dry, your unit will look something like this. Pop the drawers back in and check there is no bare wood visible.
You may find you’ll need to smooth any lumps and bumps that have accumulated on the final coat of primer. Wire wool works a treat for getting rid of any grit before painting.
Now for the top coat, use the roller for the flat surfaces, and as before, use even sweeping movements back and forth, until each section is covered.
Use your paintbrush to coat the beveled edges and just inside the frame.
The brush will work wonders for tidying up any spills made with the roller. Allow time for the paint to dry. This may take a couple of hours. Don’t forget to paint the outside of the drawers whilst they are on the dust sheet and the internals, if you wish, for a more complete look.
Once dry, apply a second coat of paint to your chest and the drawers. Here we have applied two coats, although depending on preference, you may decide a third is needed.
Next, for the final step, we’ll be adding handles to our newly painted unit. Simply screw each handle into the drawer, and once done, place back inside the chest. Adorn your chest with your favorite items and trinkets and stand back and admire your handiwork.
The Cotswold Company, home is where the stories start.
Source: The Cotswold Company